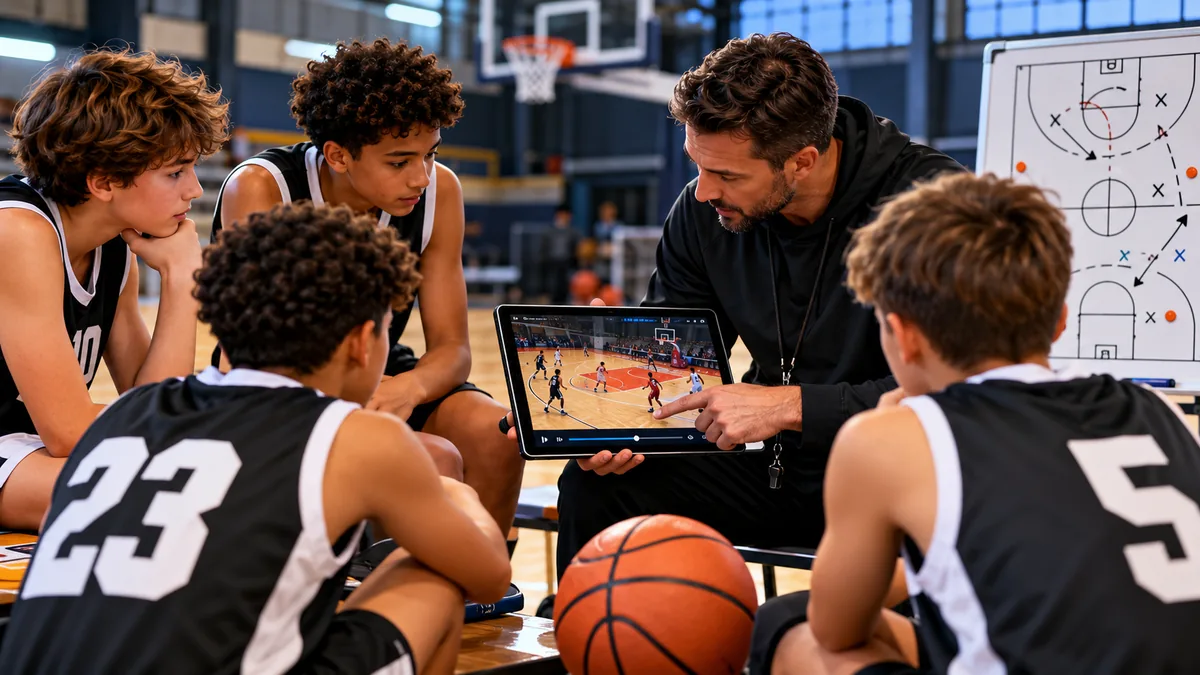
A youth basketball film review should not feel like a college scouting meeting.
Young players do not need to watch an entire game while a coach stops the video every fifteen seconds to point out mistakes.
They need something much simpler.
A few useful clips.
A clear question.
Time to notice what happened.
And one basketball idea they can take back to practice.
Used well, game video can help players see things that are difficult to recognize while they are actually playing.
Spacing becomes visible.
Defensive positioning becomes easier to understand.
Passing options become obvious.
Players can see why a transition opportunity worked—or why it disappeared.
But film can also become overwhelming quickly.
The goal is not to prove how much the coach sees.
The goal is to help young players begin seeing the game for themselves.
Why Film Can Help Young Basketball Players
Basketball happens quickly.
During a possession, a young player may be trying to:
- Control the ball
- Remember an assignment
- Watch a defender
- Find teammates
- Hear the coach
- Avoid a turnover
- Get into the correct position
That is a lot to process.
Video slows the situation down.
A player can watch the same possession again without needing to dribble, defend, or react at full speed.
That makes film especially useful for teaching concepts such as:
- Spacing
- Passing decisions
- Defensive help
- Transition
- Rebounding position
- Off-ball movement
- Shot selection
- Communication
- Team shape
USA Basketball includes film breakdowns and X’s-and-O’s discussion in its coach education programming, showing how video can be used as a learning tool rather than simply entertainment. USA Basketball
For youth players, however, the session needs to remain much simpler.
Do Not Start With the Entire Game
One of the easiest mistakes is opening a full game and pressing play from the opening tip.
Forty minutes later, everyone is tired.
Young players may remember very little.
Instead, coaches should select a small number of clips beforehand.
Three to eight possessions can be enough for one session.
Each clip should have a purpose.
For example:
Today we are looking at spacing.
Or:
Today we are looking at what happens after a defensive rebound.
One topic creates a much clearer learning experience than trying to analyze the entire game.
Use Film to Ask Questions, Not Deliver Lectures
The coach already knows what happened.
The player needs an opportunity to discover it.
Instead of immediately saying:
“You should have passed to the corner.”
Pause the video and ask:
“What options do you see?”
The player may notice the corner.
Or they may notice something else.
You can follow with:
“What is the defender taking away?”
Then replay the clip.
This approach turns film into decision-making practice.
Positive Coaching Alliance promotes question-based approaches such as “if/then” thinking because they encourage athletes to reach conclusions and understand how they might respond in future situations. Positive Coaching Alliance
That idea works extremely well in film sessions.
A Simple Four-Step Film Review Method
Use the same structure for most clips:
Watch → Pause → Ask → Replay
1. Watch
Let the clip play once without commentary.
Do not tell players what to look for immediately.
Let them experience the possession naturally.
2. Pause
Stop at the moment where an important decision becomes visible.
This might be before the pass, drive, shot, rotation, or rebound.
3. Ask
Ask one question.
For example:
“Where is the open space?”
“Who is helping on defense?”
“What could happen next?”
“Where should we move after this pass?”
4. Replay
Let the possession run again.
Players can now watch with a clearer purpose.
That repetition is often enough.
You do not need another five-minute explanation after every clip.
Review Decisions, Not Only Results
One of the most important rules of youth film review is:
Do not judge every possession by whether the ball went in.
A player can make a good decision and miss.
They can also make a poor decision and score.
Imagine a player drives into three defenders and makes a difficult shot.
The result is two points.
The decision may still be questionable.
Another player makes the correct pass to an open teammate who misses.
The possession may still show good basketball.
Film gives coaches a chance to separate:
Decision quality
from:
Shot result
That distinction helps young athletes understand the game more deeply.
Start With Positive Clips
Do not make the first film session a collection of mistakes.
Show players something they did well.
For example:
- Good spacing
- A strong closeout
- An extra pass
- A good cut
- A correct help position
- A strong box out
- Good transition width
Ask:
“Why did this possession work?”
Players begin learning what success actually looks like.
This also makes correction easier later.
Your existing article on building confidence emphasizes useful feedback and helping players recognize improvement rather than focusing only on mistakes. How to Coach Youth Basketball
Film can reinforce exactly that.
Use the 2-to-1 Rule
A simple guideline for younger teams is:
For every difficult correction clip, try to show roughly two clips that include something useful or positive.
That does not mean hiding mistakes.
It means creating balance.
A session might include:
- Good spacing
- Strong defensive help
- Missed rotation
- Good transition decision
- Strong extra pass
- Poor spacing followed by a correction
Players should leave film understanding what they can do better—not feeling that the coach collected evidence against them.
Film Topic 1: Spacing
Spacing is one of the easiest concepts to teach on video.
Pause the possession and ask:
“Can one defender guard two of us right now?”
If the answer is yes, two offensive players may be too close together.
Ask:
“Where is the empty space?”
Then replay.
This connects directly with the site’s existing How to Teach Spacing in Youth Basketball guide, which teaches players to recognize open areas instead of simply being told to “spread out.” How to Coach Youth Basketball
Film makes those open areas much easier to see.
Film Topic 2: Transition Decisions
Transition basketball happens quickly.
Players may not remember exactly what they saw during the possession.
Video helps.
Pause immediately after the rebound or turnover.
Ask:
“Where is the advantage?”
Then:
“Should we attack now or organize?”
The site’s transition offense guide uses the same fundamental ideas: control the ball, look ahead, create width, advance, and make a decision. How to Coach Youth Basketball
Film can help players connect those practice concepts to a real game.
Film Topic 3: Defensive Help
Young defenders often watch only their own player.
Film allows them to see the entire floor.
Pause before a drive.
Ask:
“If the ball gets into the lane, who can help?”
Then play the clip.
Do not always focus on the player who gets scored on.
The breakdown may have happened one or two actions earlier.
Maybe there was:
- Poor ball pressure
- Late help
- No communication
- A missed rotation
- No defensive rebound
Film teaches players that team defense is connected.
Film Topic 4: Off-Ball Movement
Some players believe nothing important happens when they do not have the basketball.
Video can change that.
Choose one player away from the ball.
Watch them for an entire possession.
Ask:
“How did this player help the offense?”
Maybe they:
- Cut
- Created space
- Occupied a defender
- Relocated
- Set a screen
- Filled an empty position
Or maybe they stood still.
Film makes the difference obvious.
Film Topic 5: Rebounding
Do not begin the clip when the rebound happens.
Start before the shot.
Pause as the shot goes up.
Ask:
“Where is your player?”
“Who has inside position?”
“Are we watching the ball or finding someone?”
Then continue.
This helps players understand that rebounding begins before the ball hits the rim.
Film Topic 6: Shot Selection
Young players often hear:
“That was a bad shot.”
Film allows a better conversation.
Pause before the shot.
Ask:
“What makes this a good or difficult shot?”
Consider:
- Distance
- Balance
- Defender position
- Open teammates
- Time and score
- Whether the player was under control
The goal is not to make players afraid to shoot.
It is to help them understand why some opportunities are better than others.
Film Topic 7: Communication
Video may not capture every word players say, but body language and positioning still provide useful information.
Pause before a defensive action.
Ask:
“Who could communicate here?”
Or:
“How could we make this easier for our teammate?”
This encourages players to view communication as a basketball skill rather than something the coach does from the sideline.
Keep Sessions Short
Youth film review should usually be short enough that players remain engaged.
For younger teams, even five to ten minutes can be productive.
Older youth players may handle somewhat longer sessions.
The important factor is not duration.
It is focus.
A ten-minute session with six useful clips is often better than watching an entire game without a clear objective.
Film should support practice.
It should not replace it.
Show the Clip at Normal Speed First
Avoid immediately slowing everything down.
Players eventually need to understand basketball at real speed.
Show the possession normally first.
Then replay or pause when necessary.
Slow motion can be useful for:
- Footwork
- Defensive position
- Shooting balance
- Rebounding contact
- Timing
But the normal-speed clip should remain part of the session.
It helps players connect the lesson back to the real game.
Do Not Stop the Video Too Early
Sometimes coaches pause before players have a chance to recognize anything.
Let the clip breathe.
Show enough of the possession that players understand the context.
Then pause.
For example, if you are teaching spacing, show the pass or drive that created the problem.
If you are teaching transition, show how the possession changed.
Context turns isolated mistakes into basketball decisions.
Avoid Film Sessions Focused on One Player
Unless you are conducting an individual session, avoid turning team film into:
“Everything Alex did wrong.”
That creates embarrassment and often causes players to stop participating.
Talk about the team.
Use language such as:
“What could we do here?”
Instead of:
“Why did you do that?”
Players will still recognize themselves.
But the lesson becomes shared.
Let Players Find Their Own Clips
With older youth teams, occasionally give players responsibility.
Ask:
“Find one possession where we created good spacing.”
Or:
“Find one defensive possession we could improve.”
This turns film review into active learning.
Players begin watching basketball differently.
They are no longer waiting for the coach to provide every answer.
Compare Two Similar Possessions
This is one of the most effective film methods.
Show two possessions involving the same situation.
Clip A:
Good spacing.
Clip B:
Poor spacing.
Ask:
“What is different?”
Or show:
Clip A:
Transition opportunity used immediately.
Clip B:
Players crowd the ball and the advantage disappears.
Players often understand contrast faster than explanation.
Do Not Correct Every Mistake You See
A coach may see twelve problems in one possession.
The players do not need all twelve.
Choose the one that connects to the session’s theme.
If today’s topic is defensive help, ignore the unrelated offensive footwork mistake from two possessions earlier.
Film becomes powerful when the message is selective.
It becomes exhausting when every clip becomes a complete coaching clinic.
Connect Film Directly to Practice
Film should answer:
What are we going to work on next?
If the video shows poor spacing, follow the session with a 3-on-3 activity focused on spacing.
If players struggle to recognize transition advantages, use 2-on-1 or 3-on-2.
If help defense is late, create a small-sided defensive drill.
This connection matters.
Film shows the problem.
Practice gives players the repetitions needed to improve it.
Your site’s 3-on-3 article already emphasizes how small-sided games create more touches, decisions, and clearer spacing situations. How to Coach Youth Basketball
That makes 3-on-3 an excellent bridge between film and live learning.
Use Film Before Practice, Not Only After Games
Video does not have to be a post-game activity.
Try this sequence:
Before practice: Show two clips.
During practice: Work on the concept.
After practice: Ask players what changed.
For example:
Film shows poor spacing.
Practice includes a 3-on-3 spacing game.
At the end ask:
“What did we do differently today?”
Now video becomes part of the learning process rather than a separate classroom activity.
Create a Film Theme for the Week
Instead of reviewing random problems, give the week one theme.
For example:
Week 1: Spacing
Week 2: Transition
Week 3: Defensive Help
Week 4: Rebounding
Week 5: Communication
Players begin seeing the relationship between games and practice.
This also prevents film sessions from becoming unfocused.
Review the Same Concept Over Time
Film becomes especially useful when players can see improvement.
Show a possession from early in the season.
Then show a similar situation several weeks later.
Ask:
“What is better?”
Players might recognize:
- More space
- Earlier help
- Better transition width
- Stronger box outs
- Faster passing decisions
Progress becomes visible.
That can be more motivating than simply telling players:
“You’re getting better.”
Use Film to Build Confidence
Video does not have to be about correction.
Show a player:
- Making the correct extra pass
- Defending without fouling
- Communicating
- Sprinting back
- Creating space without touching the ball
- Making a strong decision under pressure
Say:
“This is what we’re talking about.”
Specific evidence can make feedback feel real.
The player can actually see the behavior.
What About Individual Film Sessions?
Individual film can be useful for older or more committed players.
Keep the same approach.
Choose only a few clips.
Ask questions.
Focus on one or two areas.
Do not create a twenty-minute list of weaknesses.
A simple individual review might include:
One thing the player did well
One decision to improve
One practice objective
That gives the athlete something actionable.
Age 6–8: Keep Film Extremely Simple
At this age, video sessions should be very short.
Use one or two clips.
Ask basic questions such as:
“Where is the open space?”
“Which basket are we attacking?”
“Who is your player?”
Keep it visual and positive.
Do not introduce tactical detail they cannot use yet.
Ages 9–11: Introduce Decisions
Players can begin discussing:
- Passing options
- Spacing
- Defensive help
- Transition
- Rebounding position
Still keep sessions short.
Ask more questions than you answer.
Ages 12–14: Add Tactical Detail
Older youth players may be ready to discuss:
- Help-and-recover
- Defensive matchups
- Screening actions
- Shot selection
- Transition numbers
- Weak-side movement
- Time and score
Even then, resist the urge to turn every film session into advanced scouting.
Player development remains the priority.
Do Not Make Film Review a Punishment
Never say:
“We played terribly, so tomorrow we’re watching the whole game.”
That teaches players to associate film with failure.
Film should be a learning tool.
Sometimes show clips after a win.
Sometimes show clips after a loss.
Sometimes review something the team did extremely well.
The message should be:
We use video because it helps us understand basketball.
Not:
We use video when the coach is angry.
Avoid Comparing Kids to Professional Players Too Often
NBA and WNBA clips can sometimes provide useful examples.
But youth basketball is different.
Professional athletes play with different:
- Speed
- Size
- Strength
- Spacing
- Shooting range
- Tactical complexity
Use professional film carefully.
The best teaching video for a young player is often their own game because the situation is immediately relevant.
Ask Players What They Remember Before Showing the Clip
This can be useful after games.
Ask:
“What did you see during this possession?”
Let the player explain.
Then show the clip.
Sometimes their memory will match the video.
Sometimes it will not.
That difference can create an excellent learning moment.
It teaches players that game awareness improves when they become more accurate about what is happening around them.
Use If/Then Questions
Film works especially well with conditional thinking.
Ask:
“If this defender helps, then what becomes open?”
Or:
“If the rebounder can make the outlet pass, then where should the wings run?”
This helps players connect situations with responses rather than memorizing one fixed action.
Question-based “if/then” learning is also promoted in Positive Coaching Alliance coaching resources as a way to encourage athletes to think through situations. Positive Coaching Alliance
A Simple 10-Minute Film Session
Here is a practical structure.
Minute 0–1: Explain today’s theme.
Minute 1–3: Show two positive examples.
Minute 3–6: Show two situations to improve.
Minute 6–8: Compare one good and one poor example.
Minute 8–9: Ask players for the main lesson.
Minute 9–10: Connect the lesson to today’s practice.
That is enough.
Players should leave wanting to apply the idea, not simply wanting the screen turned off.
A Film Review Checklist for Coaches
Before the session, ask yourself:
- What is today’s one main topic?
- Which clips clearly show it?
- Do I have positive examples?
- Can players answer a question before I explain?
- Is the session short enough?
- Does the lesson connect to practice?
- Am I teaching decisions instead of embarrassing players?
- What is the one thing I want them to remember?
If you cannot answer the final question, the session may be trying to teach too much.
Common Youth Basketball Film Review Mistakes
Watching the Entire Game
Too much information reduces the value of individual clips.
Pausing Every Possession
Players lose the rhythm and context of the game.
Focusing Only on Mistakes
Film should also show successful habits.
Talking More Than the Players
Ask questions and allow athletes to think.
Showing Too Many Tactical Concepts
Choose one theme.
Embarrassing Individual Players
Teach the team whenever possible.
Never Connecting Film to Practice
Video should lead to live repetitions.
Judging Decisions Only by Results
A made basket is not automatically a good decision.
Frequently Asked Questions
At what age should coaches start using basketball film?
Very simple video review can be used with young players, but sessions should be short and visual. More detailed tactical review becomes appropriate as players mature.
How long should youth basketball film sessions last?
For many youth teams, five to fifteen focused minutes is enough. The quality and clarity of the clips matter more than duration.
Should coaches show mistakes on film?
Yes, but corrections should be balanced with useful examples and handled without embarrassing players.
Is it better to review offense or defense?
Both can be useful. Choose one topic at a time so players have a clear learning objective.
Should players talk during film sessions?
Yes. Asking players what they see encourages decision-making and basketball awareness.
Can film review improve confidence?
It can help when coaches show players specific examples of improvement, good decisions, effort, and successful team habits.
Final Thoughts
A good youth basketball film review should make the game easier to understand.
Not more complicated.
Choose a few clips.
Focus on one basketball idea.
Let players watch first.
Pause at the important moment.
Ask what they see.
Replay the possession.
Then connect the lesson directly to practice.
Film is most useful when players gradually become less dependent on the coach explaining everything.
They begin noticing space.
Recognizing defenders.
Seeing teammates.
Understanding why an action worked.
And eventually identifying the next decision before the coach has to tell them.
That is the real value of the film room for young players.
The screen is only the teaching tool.
The goal is better basketball awareness when the players return to the court.
