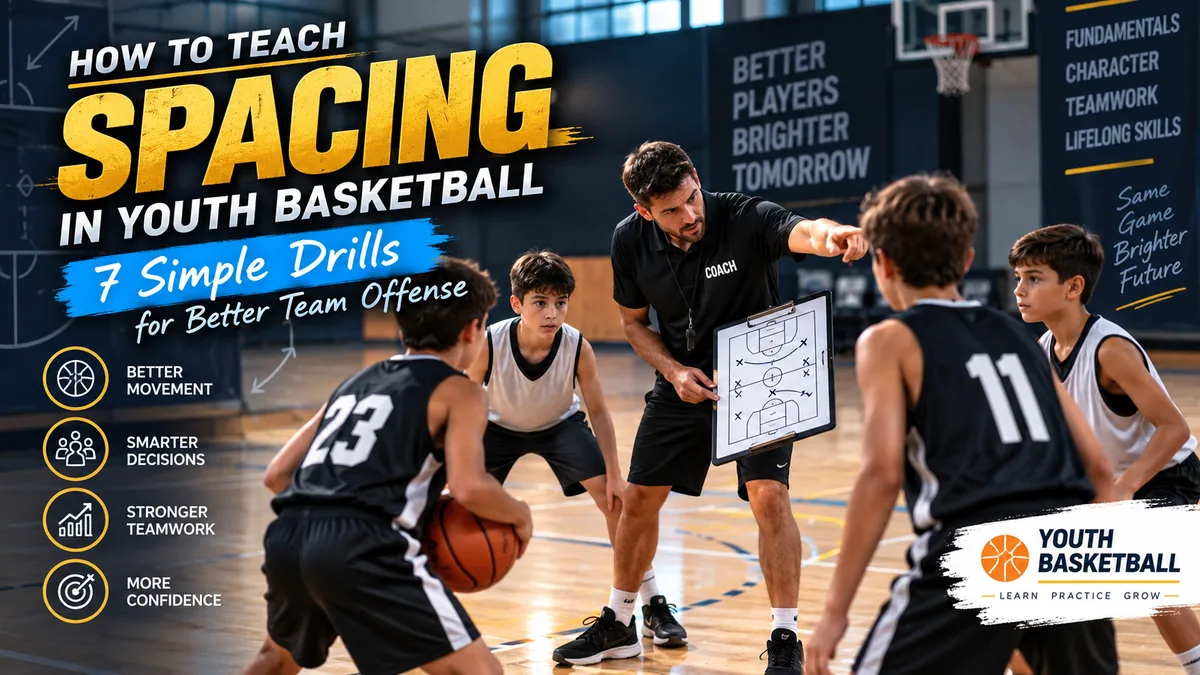
A common problem in youth basketball is easy to recognize: one player gets the ball, and several teammates immediately move toward it.
Within seconds, the court becomes crowded.
Driving lanes disappear, passing angles become smaller, and players have difficulty deciding where to move next.
Learning how to teach spacing in youth basketball can solve many of these problems without installing a complicated offense. Young players do not need to memorize dozens of positions. They need a few clear rules, visual landmarks, and drills that allow them to experience good floor balance.
This guide explains a simple approach coaches can introduce gradually during practice.
What Does Spacing Mean in Youth Basketball?
Basketball spacing is the distance players maintain between themselves and their teammates while the team has possession.
Good positioning creates room for:
- Dribble penetration
- Passing
- Cutting
- Catching
- Shooting
- One-on-one opportunities
- Better offensive decisions
Poor spacing creates the opposite effect.
When three players stand in the same area, one defender may be able to influence several offensive players at once.
Instead of constantly telling players to “spread out,” coaches should teach them where open space exists and what they should do when that space changes.
Why Young Players Crowd the Basketball
Crowding is usually not caused by laziness.
Beginners naturally follow the action.
The basketball attracts their attention, so they move toward it because they want to participate.
That means shouting “get away from the ball” rarely fixes the problem permanently.
Players need a clearer instruction.
For example:
“If your teammate moves into your space, find the next open spot.”
That command gives the player an action rather than simply describing a mistake.
The goal is to make positioning understandable before expecting athletes to recognize it automatically during a game.
Start With Five Simple Floor Spots
One of the easiest ways to introduce spacing is to give players visible reference points.
Use five basic perimeter locations:
- Top
- Left wing
- Right wing
- Left corner
- Right corner
Place cones or floor markers at each location during practice.
Have five players occupy the spots without a defense.
Do not begin with plays.
Simply pass the ball around the perimeter while players learn what the court should look like when teammates are separated.
After a few repetitions, remove one or two markers.
Eventually, players should recognize the locations without needing cones.
This simple progression gives beginners a picture they can remember.
1. Five-Spot Passing Drill
This is a useful starting activity because there is no defense and very little confusion.
Setup
Place five players around the perimeter.
Give one player the basketball.
How It Works
The ball moves from one position to the next.
After making a pass, the player should remain balanced and ready to react.
At first, focus only on maintaining distance.
Then add a rule:
After every third pass, one player must cut toward the basket and another teammate fills the empty position.
This introduces movement without destroying the basic shape.
Coaching Points
Watch for players slowly drifting toward the basketball.
Remind them:
“See the ball, but protect your space.”
The phrase is short enough to repeat during live action.
2. Pass, Cut, and Fill Drill
Once players understand the five starting locations, teach them what happens after a pass.
Standing still after moving the ball is one of the most common habits among beginners.
The pass-cut-fill drill gives players a predictable next action.
Setup
Use three to five offensive players without defenders.
Sequence
Player A passes to Player B.
Player A cuts toward the basket.
If the pass back is unavailable, Player A continues through the lane and moves toward an open perimeter location.
The remaining teammates rotate to fill any vacant spot.
The pattern then continues.
Coaches should begin slowly.
There is no reason to rush the first repetitions.
Correct positioning matters more than speed.
Once players understand the movement, allow the group to operate without stopping.
Teach the Empty Spot, Not a Memorized Route
Young athletes sometimes become dependent on fixed directions.
For example, they may think:
“I always run to the right corner after I cut.”
That is not the real lesson.
The better habit is:
Find the empty area.
If the right corner is occupied, the player should recognize another available position.
This turns a pattern into decision-making.
3. Drive-and-Drift Drill
Players also need to understand spacing when a teammate attacks the basket.
When someone drives, beginners often move toward the driver.
That makes the possession more difficult.
Instead, off-ball players should maintain useful passing windows.
Setup
Use three offensive players.
Place one at the top and one on each side.
How It Works
The player at the top drives toward one side of the lane.
The player on that same side moves toward open perimeter space rather than moving into the driver’s path.
The opposite player adjusts to remain available for a pass.
The driver can:
- Finish at the rim
- Stop and pass
- Kick the ball back outside
Rotate positions after every repetition.
Key Lesson
Tell players:
“A drive should create space, not a crowd.”
This helps connect movement with the purpose behind it.
4. No-Two-Players-in-One-Zone Game
This drill turns spacing into a simple challenge.
Divide the half court into several imaginary areas or mark them with cones.
Examples include:
- Left corner
- Left wing
- Middle
- Right wing
- Right corner
Play 3-on-3.
The special rule is that two offensive teammates cannot remain in the same zone for more than a brief moment.
If they do, possession changes.
The rule forces players to observe teammates instead of watching only the basketball.
After several rounds, remove the restriction and see whether the positioning remains better.
Why Small-Sided Games Help
Five-on-five can be overwhelming for new players.
There are ten bodies, several possible actions, and limited space.
Using 2-on-2 or 3-on-3 simplifies the picture.
Each player receives more responsibility and has fewer teammates to track.
That makes small-sided basketball an excellent environment for teaching movement, passing angles, and decision-making.
5. 3-on-3 Stay-Wide Game
Set up a normal half-court 3-on-3 game.
Add one condition:
Before anyone drives, the three offensive players must create clear separation from one another.
Do not demand perfect geometry.
You simply want players to recognize whether teammates are standing too close together.
Award one point for a basket.
You can also award a bonus point when a possession includes:
- Good spacing
- A purposeful cut
- A drive-and-kick pass
- A pass followed by movement
This changes what players consider a successful possession.
Scoring is still important, but smart movement receives recognition too.
6. Freeze-and-Fix Scrimmage
This is less of a traditional drill and more of a coaching method.
Play 3-on-3 or 4-on-4.
When spacing becomes poor, blow the whistle and tell everyone to freeze.
Do not immediately give them the answer.
Ask:
“Where is the open space?”
Let players look around.
Then ask:
“Who could move there?”
After someone identifies the solution, resume play.
This encourages athletes to solve the problem themselves.
Keep stoppages short.
If every possession becomes a lecture, the activity loses its rhythm.
The objective is awareness, not constant interruption.
7. Advantage Basketball: 3-on-2
Once basic positioning improves, introduce an advantage situation.
Three offensive players attack two defenders.
The offense already has a numerical advantage, but it disappears quickly if players crowd one another.
Setup
Begin with three attackers spread across the width of the court.
Two defenders protect the basket.
Rules
The offensive team should attack immediately.
Players must decide whether to:
- Drive
- Pass
- Cut
- Stay wide
- Finish
Coaches should avoid dictating every choice.
Let players discover how keeping distance makes the extra offensive player more useful.
After each possession, rotate attackers and defenders.
Use Short Coaching Cues
Long explanations are difficult to process during live basketball.
Choose a few phrases and use them consistently.
Useful spacing cues include:
“Stay wide.”
“Find open space.”
“Pass and move.”
“Fill the empty spot.”
“Give the driver room.”
“See your teammate and the ball.”
When the same language is used in drills and games, players begin associating each phrase with a specific action.
Do Not Teach Spacing as Standing Still
Spacing does not mean placing five players around the perimeter and telling them not to move.
Good offensive positioning changes constantly.
A player may begin on the wing, cut through the lane, exit to the opposite corner, and relocate again after a teammate drives.
The important principle is maintaining useful distance while still creating movement.
Coaches should therefore progress from stationary positioning to dynamic activities.
A simple order is:
- Learn the floor spots.
- Pass between positions.
- Add cutting.
- Add filling.
- Add dribble penetration.
- Add defenders.
- Use live games.
Each stage adds one new decision.
Common Spacing Mistakes Youth Coaches Should Correct
Following the Ball
A player passes and immediately moves toward the receiver.
Instead, teach the passer to cut or move toward a different open location.
Two Players Cutting Together
Simultaneous cuts can clog the lane.
Encourage players to recognize when a teammate is already moving toward the basket.
Standing Behind a Defender
A player may technically be far from teammates but still be unavailable.
Teach athletes to move into a passing window where the ball handler can see them.
Corners Moving Too Early
Corner players sometimes abandon their area as soon as a teammate dribbles.
Teach patience.
Movement should improve the passing angle rather than simply create activity.
Everyone Watching the Dribbler
Off-ball players should watch the possession while also recognizing teammates and defenders around them.
Basketball awareness involves more than following the ball with the eyes.
How Much Spacing Should Youth Players Have?
There is no single distance that works for every age group.
Court size, player strength, shooting range, and experience all affect ideal positioning.
For younger teams, coaches should avoid forcing players so far from the basket that they are no longer realistic scoring threats.
Instead of measuring exact distances, use a practical test:
Can one defender easily guard two offensive players?
If the answer is yes, those teammates may be too close.
As players grow stronger and more skilled, their useful playing area naturally becomes larger.
Adjust the Concept by Age
Ages 6–8
Keep it extremely simple.
Teach players not to stand directly beside a teammate.
Use cones and visual floor spots.
Three-on-three games work well.
Ages 9–11
Introduce:
- Pass and cut
- Fill the open position
- Drive-and-drift movement
- Basic weak-side awareness
Players can begin making simple reads rather than following a fixed pattern.
Ages 12–14
Add:
- 4-out or 5-out alignments
- Backdoor cuts
- Drive-and-kick reads
- Screen-away actions
- Help-defense recognition
At this level, positioning becomes connected to reading defenders rather than merely occupying a spot.
How to Know When Players Are Improving
Do not judge progress only by points scored.
During scrimmages, look for changes such as:
- Fewer teammates standing side by side
- Clearer driving lanes
- More purposeful cuts
- Better passing windows
- Players filling open positions automatically
- Fewer possessions where everyone runs toward the basketball
Those signs show that players are beginning to understand the floor.
Frequently Asked Questions
What is the easiest way to teach spacing in youth basketball?
Start with visible floor spots and teach players to occupy different areas. Once they understand the basic shape, add passing, cutting, filling, and live defenders.
Should young teams use 5-out spacing?
A simple 5-out alignment can be useful because it provides clear perimeter locations. However, the priority should be teaching players why they move rather than forcing them to memorize a system.
How do I stop kids from crowding the basketball?
Give them a specific replacement behavior. Instead of repeatedly saying “don’t crowd,” use cues such as “find open space,” “stay wide,” or “fill the empty spot.”
Is 3-on-3 useful for teaching offense?
Yes. With fewer players on the floor, athletes have more room to recognize passing lanes, cuts, drives, and open positions.
When should coaches introduce spacing?
Basic spacing can be introduced as soon as children begin playing team basketball. The terminology and complexity can increase as players become more experienced.
Final Thoughts
Teaching spacing does not require an advanced playbook.
Young teams usually improve faster when coaches begin with simple visual positions and gradually add movement, defenders, and decision-making.
Start by showing players where open areas exist.
Then teach them to pass, cut, fill, and react when a teammate drives.
Use small-sided games so athletes can apply those ideas without having to process ten players at once.
Eventually, coaches should need fewer reminders.
That is the goal: players begin recognizing space for themselves instead of waiting for instructions from the sideline.
