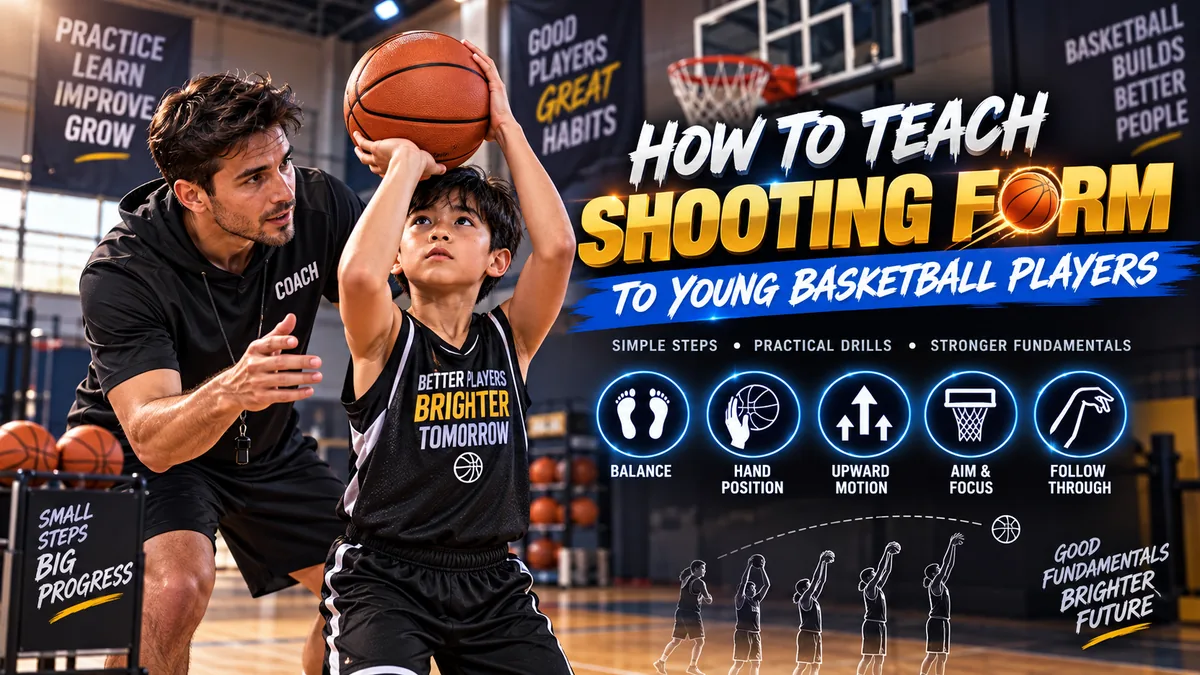
How to Teach Shooting Form to Young Basketball Players
Shooting is one of the first skills young basketball players want to learn, but it is also one of the easiest skills to develop incorrectly.
Many beginners focus only on whether the ball goes into the basket. Coaches, however, should pay attention to how the shot is produced.
Learning how to teach basketball shooting form is not about forcing every child to shoot exactly the same way. The goal is to help players build a balanced, repeatable motion that can improve as they grow stronger and more experienced.
For youth coaches, the best approach is usually simple: start close to the basket, teach one detail at a time, and give players enough repetitions to feel what a controlled shot should look like.
Why Shooting Form Matters for Young Players
Young athletes are still developing coordination, strength, and body control.
If they begin shooting from too far away, they may compensate by pushing the ball with both hands, throwing it from the chest, twisting the body, or jumping forward excessively.
Those habits can become difficult to correct later.
Good shooting instruction helps players develop:
- Better balance
- More consistent release
- Improved accuracy
- Proper use of the shooting hand
- Better coordination between the legs and upper body
- Confidence around the basket
The goal is not perfection.
The goal is a motion that the player can repeat comfortably.
Start Close to the Basket
One of the most important rules when teaching beginners is simple:
Do not start too far away.
Young players often want to shoot three-pointers because that is what they see older players doing.
But if a player does not have enough strength to maintain proper technique from long range, the distance becomes more important than the skill.
Start approximately three to six feet from the basket.
At this range, players can focus on:
- Balance
- Hand position
- Release
- Follow-through
Once the motion becomes consistent, gradually increase the distance.
A player should earn the right to move farther away by demonstrating control.
Teach Balance Before the Shot
A good shot begins before the ball leaves the hands.
Players should first learn how to establish a stable base.
The feet should generally be around shoulder-width apart, although small differences are normal.
The knees should be slightly bent.
The player’s weight should feel balanced rather than leaning heavily forward or backward.
A simple coaching cue is:
“Balanced before the ball goes up.”
Young players sometimes rush directly into the shooting motion.
Slowing down the setup can help them recognize what a strong starting position feels like.
Keep the Shooting Hand Under the Ball
Hand placement is one of the most important parts of youth shooting instruction.
The shooting hand should support the basketball from underneath or slightly behind it.
The fingers should be comfortably spread.
The ball should rest primarily on the fingers and pads rather than being buried against the palm.
The non-shooting hand acts as a guide.
It should help stabilize the basketball without becoming the main source of force.
A common mistake is allowing both hands to push the ball equally.
When this happens, the shot may rotate sideways or leave the hands inconsistently.
Teach the Guide Hand to Stay Quiet
The guide hand has an important job, but it should not take over the shot.
For a right-handed shooter, the left hand helps keep the basketball secure during the motion.
For a left-handed shooter, the right hand performs that role.
As the ball is released, the guide hand should separate naturally.
It should not twist the basketball or push it toward the basket.
A useful coaching phrase is:
“Shoot with one hand, guide with the other.”
This is easier for young players to understand than a long explanation about hand mechanics.
Keep the Elbow in a Comfortable Position
Coaches sometimes become too strict about elbow position.
The shooting elbow generally should be positioned under or near the basketball rather than pointing dramatically outward.
However, young athletes have different body structures.
Trying to force every player’s elbow into exactly the same position can create tension.
Instead, look for a comfortable alignment that allows the ball to travel upward toward the basket.
The shooting motion should feel smooth rather than mechanical.
Teach an Upward Shooting Motion
Many beginners push the ball forward.
A good shot should have a clear upward component.
Teach players to lift the basketball toward the basket rather than throwing it directly at the rim.
This creates a better arc and makes the shooting motion easier to control.
A simple cue is:
“Up, then toward the basket.”
Players should feel the legs and shooting arm working together.
The motion should flow from the floor upward rather than beginning only with the arms.
Use the Legs Without Overcomplicating It
Young players do not need a detailed biomechanics lesson.
They simply need to understand that the legs help create power.
Start with the knees slightly bent.
As the player begins the shot, the legs extend while the ball moves upward.
The body should work as one connected motion.
If the player must throw the ball with excessive upper-body force, the shot is probably being attempted from too far away.
Move closer and rebuild the motion.
Focus the Eyes on the Target
Players should choose a clear visual target before releasing the ball.
Some coaches teach the front of the rim.
Others prefer the back of the rim.
The exact choice matters less than consistency.
Encourage players to look at the basket before beginning the shooting motion.
A player who is still looking at the basketball while releasing it will have difficulty developing consistent accuracy.
A useful cue is:
“See the target before you shoot.”
Teach a Relaxed Follow-Through
The follow-through gives coaches useful information about the shot.
After releasing the basketball, the shooting arm should extend naturally toward the basket.
The wrist should finish relaxed.
Many coaches describe this as:
“Reach into the rim.”
Another familiar cue is:
“Hold your finish.”
Having players briefly hold the follow-through can help them become more aware of the release.
Avoid forcing exaggerated wrist positions.
The finish should look natural.
Drill 1: One-Hand Form Shooting
This is one of the simplest drills for introducing shooting technique.
Setup
Place the player a few feet from the basket.
The player uses only the shooting hand to support the ball.
The guide hand can remain behind the back or lightly beside the ball without applying force.
Focus
The player shoots softly toward the basket.
Emphasize:
- Balance
- Shooting hand under the ball
- Upward motion
- Relaxed wrist
- Follow-through
Do not count makes at first.
The goal is quality repetitions.
Drill 2: Two-Hand Form Shooting
Once the player understands the shooting-hand motion, add the guide hand.
The guide hand should help control the basketball without pushing it.
Keep the player close to the rim.
Ask them to compare the feel of the shot with the previous drill.
If the ball begins rotating sideways, check whether the guide hand is interfering.
This is a good time to reinforce:
“One hand shoots. One hand guides.”
Drill 3: Five-Spot Close Shooting
Choose five locations close to the basket.
For example:
- Left side
- Left middle
- Center
- Right middle
- Right side
Players take several shots from each location.
The purpose is not to test long-range accuracy.
It is to help players repeat the same basic motion from slightly different angles.
Make sure players do not move farther away simply because they make several shots.
Distance should increase only when form remains consistent.
Drill 4: Hold-the-Finish Shooting
Players take short shots and freeze their shooting arm after the release.
Ask them to hold the position until the basketball reaches the rim.
This gives coaches time to observe:
- Arm extension
- Wrist position
- Body balance
- Direction of the shooting hand
Players also become more aware of how they finish each shot.
Keep the drill short.
It should reinforce a habit rather than become uncomfortable.
Drill 5: Catch, Set, and Shoot
Players eventually need to shoot after receiving a pass.
Begin with a coach or teammate delivering easy passes.
The shooter catches the ball, establishes balance, and shoots.
Do not rush the first repetitions.
Teach players to prepare their hands and feet before the pass arrives.
The sequence is:
Prepare — Catch — Balance — Shoot.
Once the player becomes comfortable, gradually increase the speed of the passes.
Drill 6: Step-In Shooting
This drill helps connect footwork to the shot.
Players begin a short distance behind the shooting position.
They step into the catch and establish balance before shooting.
The step should help create rhythm.
Avoid allowing players to jump sideways or twist excessively.
The player’s momentum should remain controlled.
This drill can later progress into game-like catch-and-shoot situations.
Drill 7: Make Five With Good Form
Instead of rewarding only made shots, combine accuracy with technique.
Players attempt to make five close-range shots.
However, the coach counts only shots that also demonstrate acceptable form.
For example, a basket may not count if the player:
- Pushes strongly with both hands
- Loses balance
- Shoots from the chest
- Twists dramatically
- Uses an uncontrolled release
This teaches players that the process matters as much as the result.
Do Not Move Players Back Too Quickly
Distance creates many shooting problems.
A player may look excellent from five feet and completely change the motion from fifteen feet.
That is a sign the athlete is not ready for the additional distance.
Move closer again.
Young players sometimes see this as a punishment.
Coaches should explain that close shooting is where strong shooters build consistency.
A good rule is:
If technique breaks down, reduce the distance.
Common Shooting Mistakes in Youth Basketball
Shooting With Both Hands
The guide hand becomes too active and pushes the basketball.
Return to one-hand form shooting.
Ball Starts Too Low
Some beginners begin the shot near the waist or chest and then push forward.
Encourage a smoother upward movement.
Leaning Back
The player’s body moves away from the basket during the shot.
Reduce the distance and rebuild balance.
Jumping Forward Too Far
A small forward landing can be natural, but large jumps often indicate the player is trying to generate extra power.
Move closer.
Shooting From Too Far Away
This is one of the most common causes of poor mechanics.
Young players should practice where they can shoot comfortably.
Rushing the Shot
Players sometimes release before establishing balance.
Use slower catch-and-shoot repetitions.
Avoid Too Many Instructions at Once
A young player may have several technical problems.
Do not try to correct all of them during one shot.
Choose the most important issue.
For example:
“Keep your balance.”
Let the player take several repetitions.
Then address the next detail.
If every shot is followed by five instructions, players may become frustrated and stop focusing on the actual basket.
Short coaching cues are usually more effective.
Shooting Form Should Not Look Identical for Everyone
There are important fundamentals, but every player will develop a slightly different shot.
Differences in:
- Height
- Strength
- Arm length
- Coordination
- Dominant hand
can affect how the motion looks.
Coaches should focus on useful principles rather than creating a perfect visual copy.
Look for a shot that is balanced, repeatable, comfortable, and directed toward the basket.
When Should Young Players Start Shooting Three-Pointers?
There is no universal age.
The better question is:
Can the player reach the basket without changing the shooting motion?
If a young athlete must push from the chest, use both hands, or throw the body forward to reach the rim, the player should practice closer.
Long-range shooting can come later.
Building good mechanics first usually creates a better foundation.
Make Shooting Practice Competitive Without Hurting Technique
Competition can make practice more enjoyable.
But young players should not sacrifice technique simply to win.
Use competitions such as:
- First player to make five close shots
- Team form-shooting challenge
- Five-spot accuracy game
- Make two in a row before moving
- Partner shooting competition
Keep the distances realistic.
A competition should reinforce good habits rather than encourage players to launch difficult shots.
Connect Shooting to Game Situations
Form shooting is valuable, but players eventually need to use the skill during live basketball.
Progress gradually.
Start with:
- Stationary form shooting
- Catch-and-shoot
- Shooting after footwork
- Shooting after a pass
- Shooting after movement
- Shooting with light defensive pressure
- Shooting during small-sided games
The final step matters.
Players need opportunities to recognize when a shot is actually available.
Your 3-on-3 basketball drills for youth teams can be useful for this stage because small-sided games give each player more opportunities to catch, decide, and shoot in realistic situations.
How Shooting Fits Into a Youth Practice
Shooting should be practiced regularly, but it does not need to dominate the entire session.
A balanced youth practice can combine:
- Ball handling
- Passing
- Shooting
- Defense
- Rebounding
- Small-sided games
Coaches can use a structured youth basketball practice plan to ensure players develop multiple skills instead of spending the entire session shooting.
The key is consistency.
Ten focused minutes of good shooting work during several practices can be more valuable than one long session filled with poor repetitions.
How Coaches Can Measure Shooting Progress
Do not track only made baskets.
Young players may improve technically before their shooting percentage changes dramatically.
Look for:
- Better balance
- Cleaner ball rotation
- Less guide-hand interference
- More consistent release
- Improved arc
- Comfortable follow-through
- Ability to shoot slightly farther without changing form
Those improvements show that the player’s foundation is becoming stronger.
Frequently Asked Questions
What is the easiest way to teach basketball shooting form?
Start close to the basket and focus on balance, hand position, upward motion, and follow-through. Introduce one coaching point at a time.
Should kids shoot with one hand or two?
The shooting hand should provide most of the force, while the second hand helps guide and stabilize the basketball.
How close should beginners stand?
Many beginners benefit from starting only a few feet from the basket. The exact distance should allow the player to shoot comfortably without changing technique.
Should young players practice three-pointers?
Only when they have enough strength to maintain good shooting mechanics from that distance.
How many shots should kids take during practice?
Quality matters more than a specific number. Coaches should prioritize controlled repetitions with good technique rather than encouraging hundreds of rushed shots.
What should coaches correct first?
Balance is a good starting point. Once the player is stable, coaches can address hand position, release, and follow-through.
Final Thoughts
Learning how to teach shooting form to young basketball players requires patience.
Young athletes do not need complicated terminology or constant correction.
They need simple instructions, appropriate shooting distances, and plenty of controlled repetitions.
Start near the basket.
Teach balance.
Help players understand the difference between the shooting hand and guide hand.
Encourage a smooth upward motion and a relaxed follow-through.
Then gradually introduce passing, footwork, defenders, and game situations.
When coaches emphasize good habits before long-range results, young players can build a shooting foundation that continues to develop as they become stronger and more experienced.
